 Pin It
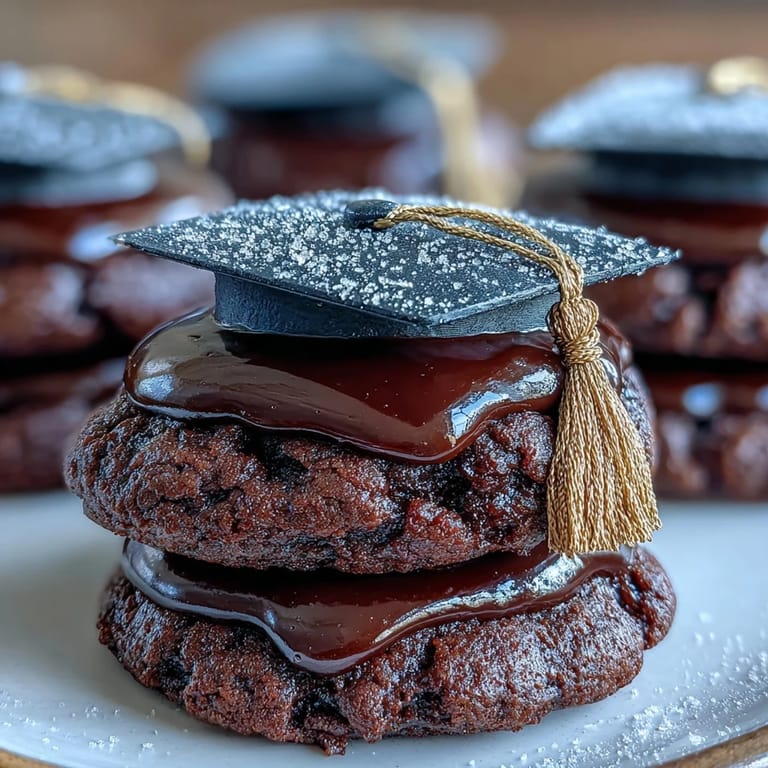
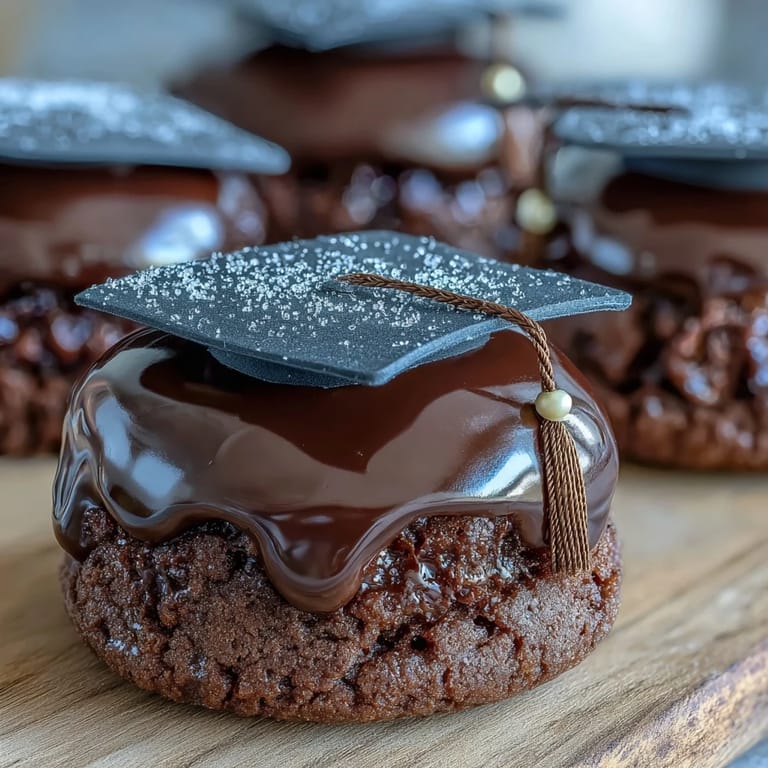
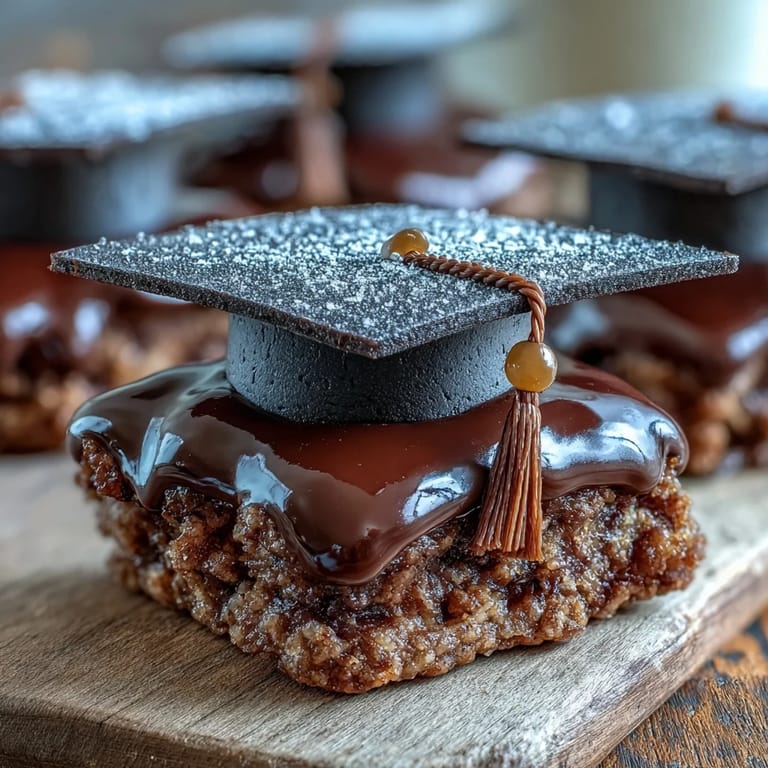
 Last spring, my neighbor mentioned she was throwing a graduation party and needed something special for the dessert table. I'd never decorated cookies before, but something about turning simple sugar cookies into tiny graduation caps felt like the perfect way to celebrate. The idea stuck with me through the baking, and by the time I piped that first golden tassel, I realized these cookies had become my favorite kind of project—something that looks impressive but actually comes together without any fuss.
When I finally brought those cookies to my neighbor's party, I watched people pause mid-conversation to admire them before biting in. There's something magical about watching someone's face light up when they realize the decoration is actually delicious, not just fondant. That moment taught me that cookies decorated with care become gifts, not just snacks.
Ingredients
- All-purpose flour (2 1/2 cups): This is your foundation, and measuring by weight rather than cups gives you the most reliable results every time.
- Unsalted butter (3/4 cup, softened): Softened butter creams properly with sugar, and using unsalted lets you control the salt level.
- Granulated sugar (1 cup): The beating process incorporates air into the dough, creating that tender crumb you want in a sugar cookie.
- Egg (1 large): This binds everything and adds richness without making the cookies cakey.
- Vanilla extract (2 teaspoons for cookies, plus 1/2 teaspoon more for icing): The vanilla quietly anchors the whole flavor, so don't skimp on quality.
- Baking powder (1/2 teaspoon): Just enough lift to keep cookies from being dense, without making them cake-like.
- Salt (1/4 teaspoon): A pinch of salt deepens the vanilla and balances sweetness.
- Powdered sugar (3 cups, sifted): Sifting matters here because lumps will show up in your icing and make piping uneven.
- Egg whites or meringue powder: Raw egg whites work beautifully, but meringue powder is a safer choice if you prefer to avoid raw eggs.
- Black and yellow gel food coloring: Gel coloring doesn't thin out your icing the way liquid coloring does, keeping your consistency perfect.
- Mini M&Ms or candy pearls: These become the tassels and add that final celebratory touch that makes people smile.
Tired of Takeout? 🥡
Get 10 meals you can make faster than delivery arrives. Seriously.
One email. No spam. Unsubscribe anytime.
Instructions
- Whisk Your Dry Ingredients:
- In a medium bowl, whisk together the flour, baking powder, and salt. This aerates the flour slightly and ensures even distribution of the leavening agent throughout your dough.
- Cream Butter and Sugar:
- Beat softened butter and granulated sugar together for about 2 to 3 minutes until the mixture is pale and fluffy. You'll see the transformation as air gets incorporated, and this is the secret to tender cookies.
- Add Egg and Vanilla:
- Mix in the egg and vanilla extract, beating until everything is smooth and combined. Scrape down the sides of your bowl so nothing gets left behind.
- Bring the Dough Together:
- Gradually add your whisked flour mixture to the wet ingredients, mixing on low speed until just combined. Stop as soon as you see no streaks of flour, because overworking develops gluten and makes cookies tough.
- Chill the Dough:
- Divide the dough in half, shape each half into a disk, wrap tightly in plastic wrap, and refrigerate for 30 minutes. Cold dough is easier to roll and won't spread as much in the oven.
- Preheat and Roll:
- Heat your oven to 350°F and let it come to temperature while your dough rests. On a lightly floured surface, roll one disk to about 1/4-inch thickness, working quickly so the dough stays cool.
- Cut and Bake:
- Use a graduation cap or square cookie cutter to cut your shapes, place them on parchment-lined baking sheets, and bake for 8 to 10 minutes until the edges are just golden. The centers might look barely set, but they'll firm up as they cool.
- Cool Completely:
- Let cookies cool on the baking sheet for a few minutes, then transfer to a wire rack. They need to be completely cool before decorating, or your icing will melt.
- Prepare Royal Icing Base:
- Beat egg whites or meringue powder mixture until foamy, then gradually add sifted powdered sugar, beating for about 5 minutes until stiff, glossy peaks form. This is the moment when you'll see the icing transform into something glossy and workable.
- Color Your Icing:
- Divide the icing into bowls: tint most of it black with gel coloring and keep a small portion yellow for details. Start with just a tiny amount of coloring and add more as needed, because gel coloring is potent.
- Adjust Consistency:
- For flooding (filling in the cookie), thin your black icing with water, one teaspoon at a time, until it flows but doesn't run off. For piping tassels, keep the yellow icing stiffer.
- Outline and Flood:
- Pipe a thin black outline around each cookie, then flood the interior with the thinner black icing. Use a toothpick to gently nudge the icing into corners and to create a smooth surface.
- Set the Base Layer:
- Let the black icing set for 30 to 60 minutes until it's no longer tacky. This sets up a base for your decorative details.
- Pipe the Tassel and Button:
- Switch to your piping bag with yellow icing and pipe a small loop or tassel shape at the corner of each cap, along with a tiny button detail. These details should be proud and decorative, not flat.
- Add the Final Touch:
- Place a mini M&M or candy pearl at the end of each tassel while the yellow icing is still slightly wet. This anchors your topping and completes the graduation cap look.
- Final Drying:
- Let all cookies dry completely before serving or packaging, ideally for several hours or overnight. This ensures the icing hardens completely and won't smudge.
 Pin It
My neighbor texted me a photo days later of her granddaughter holding one of the cookies, beaming like she'd received the world's most delicious diploma. That's when I realized these aren't just cookies—they're a small, edible celebration that makes people feel honored.
The Secret to Perfect Sugar Cookie Dough
The key to these cookies is not overworking the dough and keeping it cold. I learned this the hard way when I tried to skip chilling and ended up with flat, spread-out cookies that looked more like coins than graduation caps. Temperature matters because cold dough holds its shape during baking instead of relaxing and flattening out. Now I always chill my dough, and it's made all the difference.
Royal Icing Consistency Is Everything
Royal icing can seem temperamental, but it's really just about water content. Too stiff and you can't pipe smoothly; too thin and it runs off your cookies like you just gave them a shower. I keep two consistencies going: a thinner version for flooding the main surface and a stiffer version for piping details that need to hold their shape. A spray bottle filled with water is my secret weapon for adjusting consistency on the fly without making a mess.
Why These Cookies Get Better With Planning
The beauty of this recipe is that you can bake the cookies a day or two ahead and decorate them the next day. This takes the pressure off and means you're not scrambling to do everything at once. I've learned that the best decorated cookies come from a relaxed kitchen, not a stressed one, so breaking this into steps actually improves your final result.
- Bake your cookies early in the day so they're completely cool and ready for decoration by evening.
- Mix your royal icing fresh on the day you'll decorate, because it works best when freshly made and at room temperature.
- Set up your piping bags and colors ahead of time so decorating feels smooth and enjoyable, not chaotic.
 Pin It
 These cookies remind me that celebration is in the details, and a little extra effort in the kitchen translates to joy on someone's face. Make them with care, and they become memories.
Recipe Questions & Answers
- → What ingredients create the buttery cookie base?
The cookie base combines all-purpose flour, baking powder, salt, unsalted butter, granulated sugar, egg, and vanilla extract for a tender, crisp texture.
- → How is royal icing prepared and colored?
Royal icing is made by beating egg whites or meringue powder with powdered sugar until glossy peaks form, then tinted with black and yellow gel food coloring for decoration.
- → What is the best way to shape the cookies?
Roll the chilled dough to about 1/4 inch thick and use a graduation cap or square cookie cutter to create precise shapes before baking.
- → How long should I let the icing set before serving?
Let the icing dry fully for several hours or overnight to ensure firm decorations and avoid smudging.
- → Can these cookies be prepared ahead of time?
Yes, cookies can be baked two days in advance and decorated the next day for the best results.