 Pin It
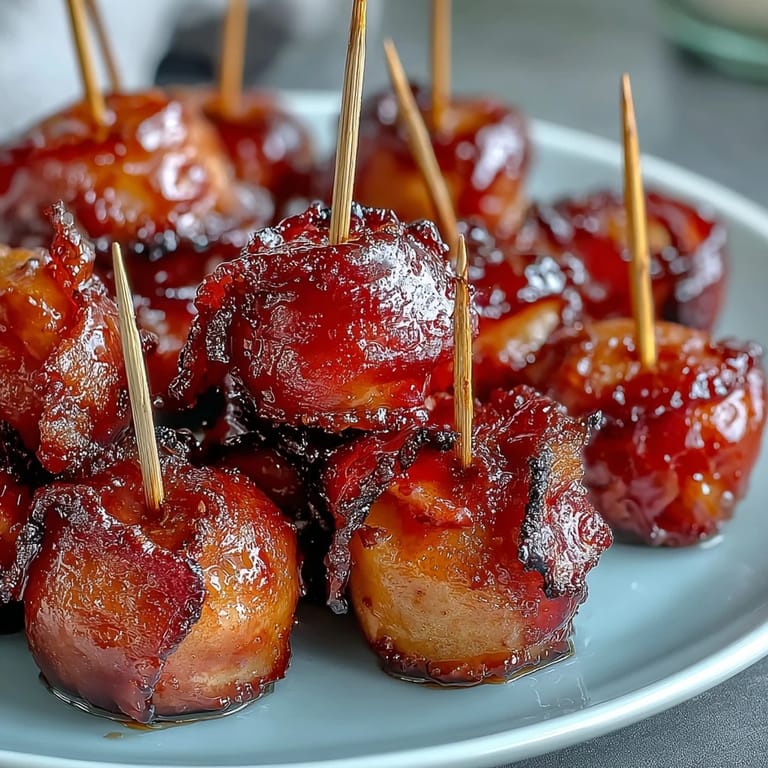
 The first time I made these, my daughter was turning seven and insisted on a candy apple station at her party instead of a cake. I'd never worked with hard crack candy before, so I called my mom halfway through, candy thermometer shaking in my hand as the sugar mixture bubbled away. She laughed and told me to trust the temperature, not my fear. Those glossy red bites on toothpicks became the hit of the afternoon, and watching kids light up at their first bite made me understand why some dishes become instant traditions.
Years later, I made a double batch for a holiday potluck and forgot to account for the drying time. I was frantically fanning them with a dish towel like some kind of candy emergency responder, but they turned out perfect anyway. My friend Sarah asked for the recipe that night, and now she makes them every October for the farmers market stand she runs with her sister.
Ingredients
- 2 large crisp apples (Granny Smith or Fuji): These varieties hold their tartness against the intense sweetness of the coating, creating balance that keeps people coming back for another bite.
- 1 cup granulated sugar: This is your candy foundation, so don't skip or substitute with brown sugar or honey, which will crystallize and ruin the glossy finish.
- 1/3 cup light corn syrup: This prevents crystallization and gives you that mirror-like shine that makes these look professionally made.
- 1/4 cup water: Just enough to dissolve the sugar and get things moving, but not so much that you're boiling forever.
- 1/4 teaspoon red food coloring: Add this after you hit temperature so the heat doesn't fade the color, and stir gently to avoid creating air bubbles.
- Nonstick cooking spray and parchment paper: The combination keeps your cooling candies from becoming permanent kitchen fixtures.
- Optional toppings (nuts, chocolate chips, sprinkles): Add these immediately while the coating is still tacky, or they'll just slide right off.
Tired of Takeout? 🥡
Get 10 meals you can make faster than delivery arrives. Seriously.
One email. No spam. Unsubscribe anytime.
Instructions
- Set Your Stage:
- Spray your parchment paper generously and have it ready on a flat surface where it won't be disturbed. Line up your toothpicks like soldiers because once you start dipping, there's no pause button.
- Prep Your Apples:
- Cut them into roughly one-inch chunks and pat them completely dry with paper towels, rubbing away any moisture you can see and some you can't. Moisture is the enemy of candy adhesion, so don't rush this step.
- Skewer and Rest:
- Poke a toothpick into each chunk and set them on a small plate nearby. This staging makes the dipping part feel organized and calm instead of chaotic.
- Build Your Candy:
- Combine sugar, corn syrup, and water in a saucepan, stirring just until everything looks wet and sandy. Bring it to a boil over medium-high heat and then resist every urge to stir it further, which would cause crystallization.
- Hit the Temperature:
- Use your candy thermometer and watch for 300°F, which takes about seven to eight minutes of boiling. You'll know you're close when the mixture stops bubbling frantically and starts moving like glossy lava.
- Add Color Carefully:
- Remove from heat and pour in your food coloring, stirring gently and briefly so you don't trap air bubbles that create speckled spots. The mixture will be wickedly hot, so keep your hands and face back.
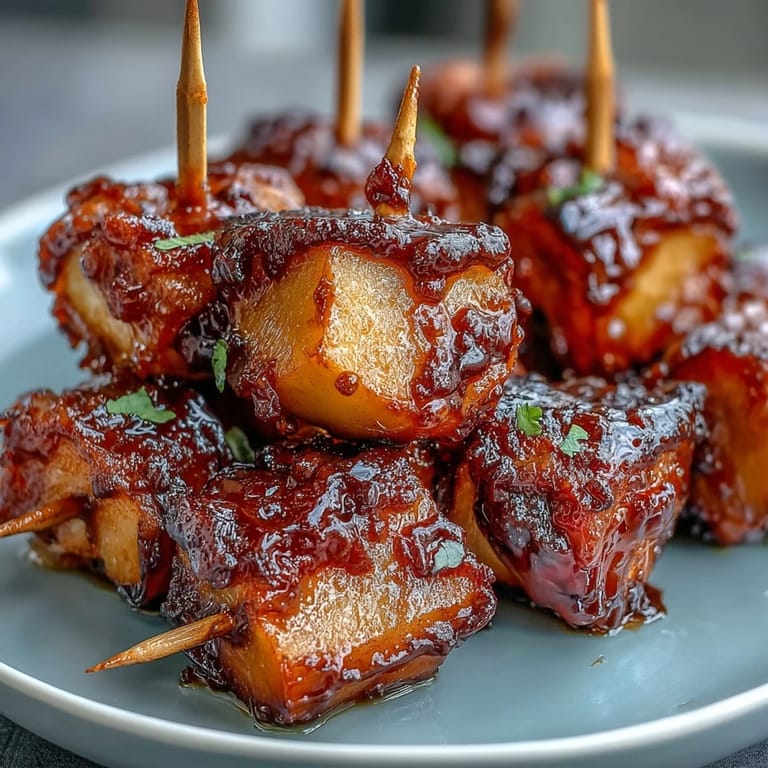
- Dip with Confidence:
- Working quickly before the candy cools and thickens, dip each apple chunk halfway into the coating and give it a gentle swirl. Lift it out, let the excess drip back into the pan for a few seconds, then place it on your prepared tray.
- Finish Fast:
- If you're using toppings, sprinkle them on immediately while the coating is still slightly tacky. Once it cools even a little, your decorations will slide right off.
- Let It Set:
- Leave everything untouched at room temperature until completely hardened, which usually takes twenty to thirty minutes depending on your kitchen temperature. Resist the urge to refrigerate, which can make the coating dull and sticky.
 Pin It
There was one afternoon when my neighbor wandered over smelling the sugar and apples and couldn't leave without trying one. She sat on my kitchen stool eating three in a row, telling me about her childhood candied apples at the county fair, and suddenly these little bites became something more than dessert. They became a conversation starter, a memory carrier, a reason two people connected over something sweet.
The Hard Crack Stage Mystery
That 300°F number seems intimidating until you understand what's happening at the molecular level. At that temperature, all the water has evaporated from your sugar mixture, leaving behind pure hardness that shatters between your teeth instead of chewy or sticky. It's the same stage used for lollipops and brittles, and once you've hit it once, you'll recognize the look and feel of it every time.
Why Apple Variety Actually Matters
Granny Smiths are tart and firm, keeping their structure and cutting through the sugar rush like a boss. Fujis are sweeter and juicier, which means you get more flavor complexity but need to pat them extra dry. I've tried Honeycrisps and they're fine, but they're mild and almost disappear under the coating, which feels like a waste of a good apple.
Storage and Timing Secrets
These are best eaten fresh on the day you make them, when the coating is snappy and the apple still has some juice in it. After a day or two, the coating softens from apple moisture, which isn't bad but loses that satisfying crunch that makes them special. If you're making these for a party, you can prep and dip them up to six hours ahead as long as you keep them in an airtight container with parchment between layers.
- Store these at room temperature, never in the fridge, where condensation will ruin that glossy finish.
- If you're doubling the recipe for a crowd, make the candy in two batches so it doesn't cool down partway through your dipping marathon.
- Green food coloring makes them look like poison apples, which somehow makes kids enjoy them even more.
 Pin It
 These little bites remind me that sometimes the smallest sweets create the biggest moments. Make them for yourself, your kids, your neighbors, or anyone who needs a tiny bit of sparkle and crunch in their day.
Recipe Questions & Answers
- → What type of apples work best for these bites?
Firm, crisp apples like Granny Smith or Fuji provide the best texture and contrast with the candy coating.
- → How do I ensure the candy coating sticks well?
Make sure the apple chunks are thoroughly dried after cutting to help the hot candy mixture adhere properly.
- → What temperature should the candy reach before dipping?
Bring the sugar mixture to 300°F (hard crack stage) to achieve the desired glossy, crunchy coating.
- → Can I add toppings to the candy coating?
Yes, sprinkle chopped nuts, mini chocolate chips, or sprinkles immediately after dipping for added flavor and texture.
- → How long does it take for the candy coating to harden?
Allow the coated bites to cool at room temperature until the candy shell hardens completely, usually within minutes.