 Pin It
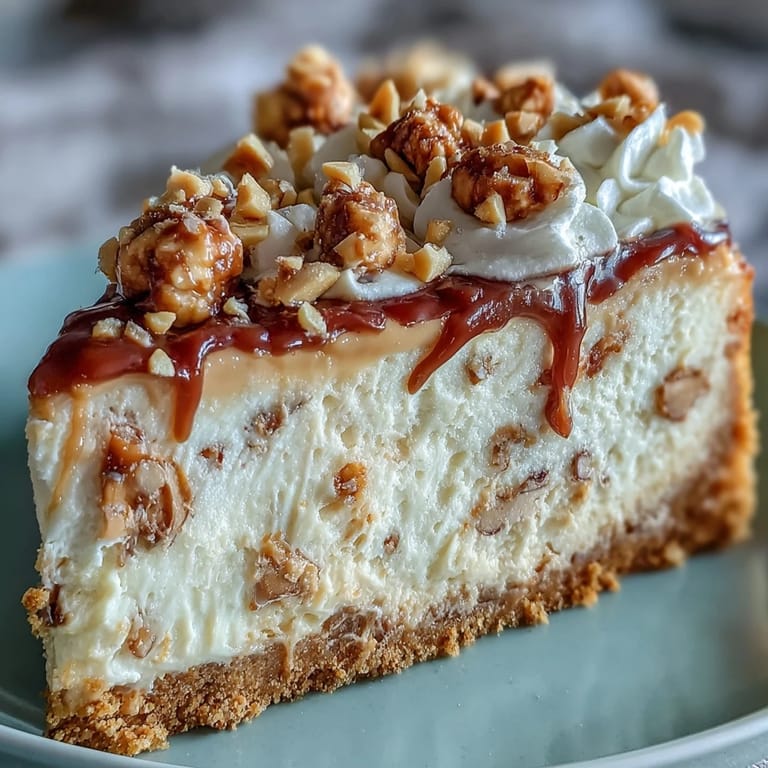
 The first time I brought this Nutter Butter cheesecake to a potluck, my friend Sarah actually moaned after taking her first bite. I'd spent the morning nervously checking the oven door every twenty minutes, convinced I'd somehow managed to mess up what seemed like a dangerously simple concept. Now it's the dessert everyone requests for birthdays, and I've learned that sometimes the most nostalgic childhood flavors become the most sophisticated adult treats.
Last summer, my brother-in-law who claims he doesn't even like sweets went back for seconds. He stood by the counter with his fork, examining the layers like he was solving a mystery, before finally admitting that peanut butter and cream cheese might be the best combination he'd never considered. That's the thing about this dessert—it wins over skeptics without even trying.
Ingredients
- 24 Nutter Butter cookies, crushed: The classic peanut-shaped sandwich cookies create the most incredible crust that reminds everyone of childhood lunchboxes
- 1/4 cup (60 g) unsalted butter, melted: I use unsalted here because the cookies are already plenty salty on their own
- 16 oz (450 g) cream cheese, softened: Leave these out for at least two hours or your filling will have frustrating lumps
- 1 cup (200 g) granulated sugar: Don't reduce this—the sugar is what gives the cheesecake its signature silky texture
- 1 teaspoon vanilla extract: Pure vanilla makes all the difference in a dessert with so few ingredients
- 3 large eggs: Also at room temperature, and add them one at a time or you might end up with a curdled mess
- 1/2 cup (120 g) creamy peanut butter: I'm partial to Jif but any regular creamy peanut butter works beautifully
- 1 cup (240 ml) heavy whipping cream: Cold from the fridge for that perfect whipped cloud on top
- 1/2 cup (60 g) powdered sugar: This dissolves instantly into the cream so you never get grainy bites
- 1/4 cup (30 g) chopped peanuts: The crunch on top is what makes this feel like a truly special occasion dessert
- Additional Nutter Butter cookies: I always tuck a few whole ones into the whipped cream for the cutest presentation
Tired of Takeout? 🥡
Get 10 meals you can make faster than delivery arrives. Seriously.
One email. No spam. Unsubscribe anytime.
Instructions
- Get your oven ready:
- Preheat to 325°F (160°C) and grease a 9-inch springform pan, then line the bottom with parchment paper so you can actually remove this masterpiece later.
- Build that buttery crust:
- Mix the crushed cookies with melted butter until it looks like damp sand, then press it firmly into your pan using the back of a measuring cup.
- Brief bake for the base:
- Bake the crust for 10 minutes, then let it cool while you make the filling.
- Start the creamy filling:
- Beat the softened cream cheese and sugar with an electric mixer on medium speed for about 2-3 minutes until it's seriously smooth.
- Add the peanut butter magic:
- Mix in the vanilla and peanut butter until everything is fully incorporated and smells like peanut butter heaven.
- Gently add the eggs:
- Add eggs one at a time on low speed, mixing just until combined after each one.
- Assemble the cheesecake:
- Pour the filling over your cooled crust and smooth the top with a spatula.
- Bake until just set:
- Bake for 50-60 minutes until the edges are firm but the center still has a slight jiggle.
- The slow cool-down:
- Turn off the oven, crack the door, and let the cheesecake cool inside for an hour to prevent those annoying cracks.
- Chill thoroughly:
- Refrigerate at least 4 hours, though overnight is even better for the deepest flavor.
- Make the whipped topping:
- Whip the heavy cream with powdered sugar until stiff peaks form.
- Finish with flair:
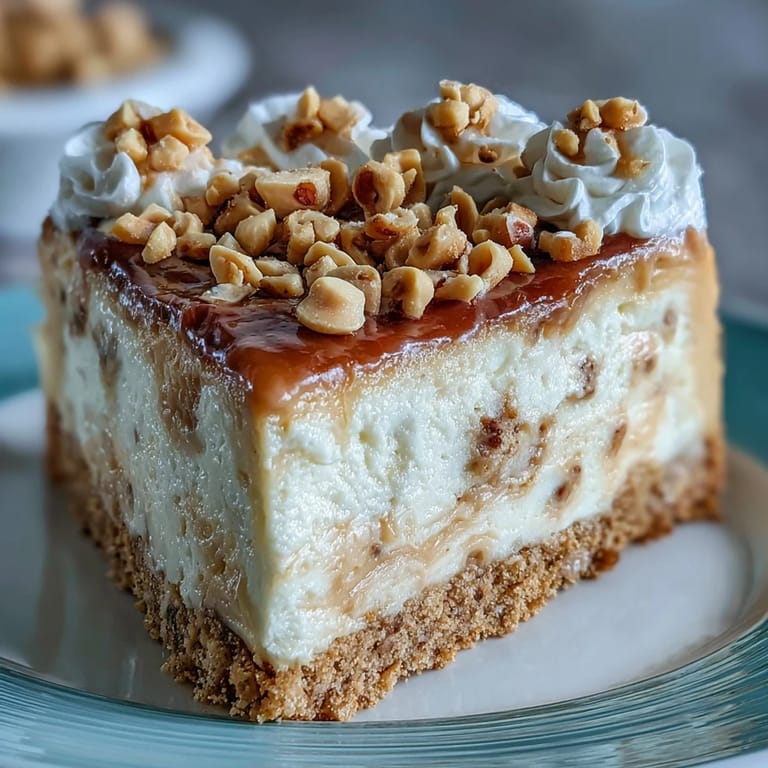
- Spread the whipped cream over the chilled cheesecake and garnish with chopped peanuts and extra cookies.
 Pin It
My daughter asked if we could have this for Thanksgiving instead of pumpkin pie this year, and honestly, I'm considering it. There's something about watching people's faces when they realize the crust is made of their favorite childhood cookies—it's pure joy in dessert form.
Make-Ahead Magic
This cheesecake actually improves with a night in the refrigerator. I've started making it the day before parties, which means I'm never frantically whipping cream at the last minute while guests arrive. The flavors meld together beautifully, and the texture becomes even more velvety after a long chill.
Water Bath Wisdom
If you want the creamiest possible cheesecake with zero cracks, wrap your springform pan in heavy-duty foil and bake it in a water bath. I resisted this step for years because it seemed like extra work, but the first time I tried it, I understood why bakery cheesecakes always look so perfect. The gentle heat from the water creates the most incredibly smooth texture.
Serving & Storing
Always use a sharp knife dipped in hot water for clean slices that show off those beautiful layers. Leftovers keep beautifully in the refrigerator for up to five days, though in my house they rarely last past day two.
- Run your knife under hot water and wipe it clean between each slice for restaurant-worthy presentation
- Let refrigerated slices sit at room temperature for about 15 minutes before serving—the texture is noticeably better
- If you're transporting this dessert, leave the whipped cream off until you arrive to avoid any unfortunate melting situations
 Pin It
 I hope this becomes your go-to dessert for the peanut butter lovers in your life. There's something wonderfully nostalgic about turning a childhood cookie into something so elegantly delicious.
Recipe Questions & Answers
- → What is the key to preventing cracks in the cheesecake?
To minimize cracking, ensure you do not over-mix the batter, especially after adding eggs. Baking in a water bath is highly recommended for an even bake and creamy texture. Also, allowing the cheesecake to cool slowly in the turned-off oven with the door ajar helps prevent sudden temperature changes.
- → Can I prepare this dessert ahead of time?
Absolutely. For the best flavor and texture, it's recommended to prepare this cheesecake at least 4 hours in advance, or even better, overnight. This allows it to set properly and flavors to meld beautifully. You can then add the whipped topping and garnishes just before serving.
- → What type of pan is best for baking cheesecake?
A 9-inch (23 cm) springform pan is ideal for cheesecakes. Its removable sides make it easy to release the finished dessert without damaging the crust or sides. Lining the bottom with parchment paper also aids in easy removal.
- → Can I use a different type of cookie for the crust?
Yes, you can certainly experiment with other cookies. While Nutter Butters provide a distinct peanut butter flavor, you could use graham crackers, Oreos (for a chocolate-peanut butter twist), or even digestive biscuits. Adjust the butter quantity as needed to achieve a wet sand consistency.
- → How should I store leftover cheesecake?
Leftover cheesecake should be stored in an airtight container in the refrigerator for up to 3-4 days. For longer storage, you can freeze individual slices for up to 1-2 months. Thaw in the refrigerator before serving.
- → What are some good garnishing options?
Beyond chopped peanuts and extra Nutter Butter cookies, you could drizzle the cheesecake with chocolate sauce, caramel, or a peanut butter ganache. A sprinkle of sea salt can also enhance the peanut butter flavor. Fresh fruit, like sliced bananas, can add a nice contrast.